Understanding the camera preview when shooting RAW
09 Dec, 2017

Understanding the camera preview when shooting RAW

So, you're shooting RAW... Maybe you're a tech guy like me, and can list all the advantages in detail. Maybe you're doing it because everyone says it's way superior to JPG, or maybe you just read online, that it's the way of the force. Either way you are doing the right thing - RAW is just better on all accounts.

But if you are not a techie and don't understand the intricate details of RAW, then this little story may sound familiar to you:

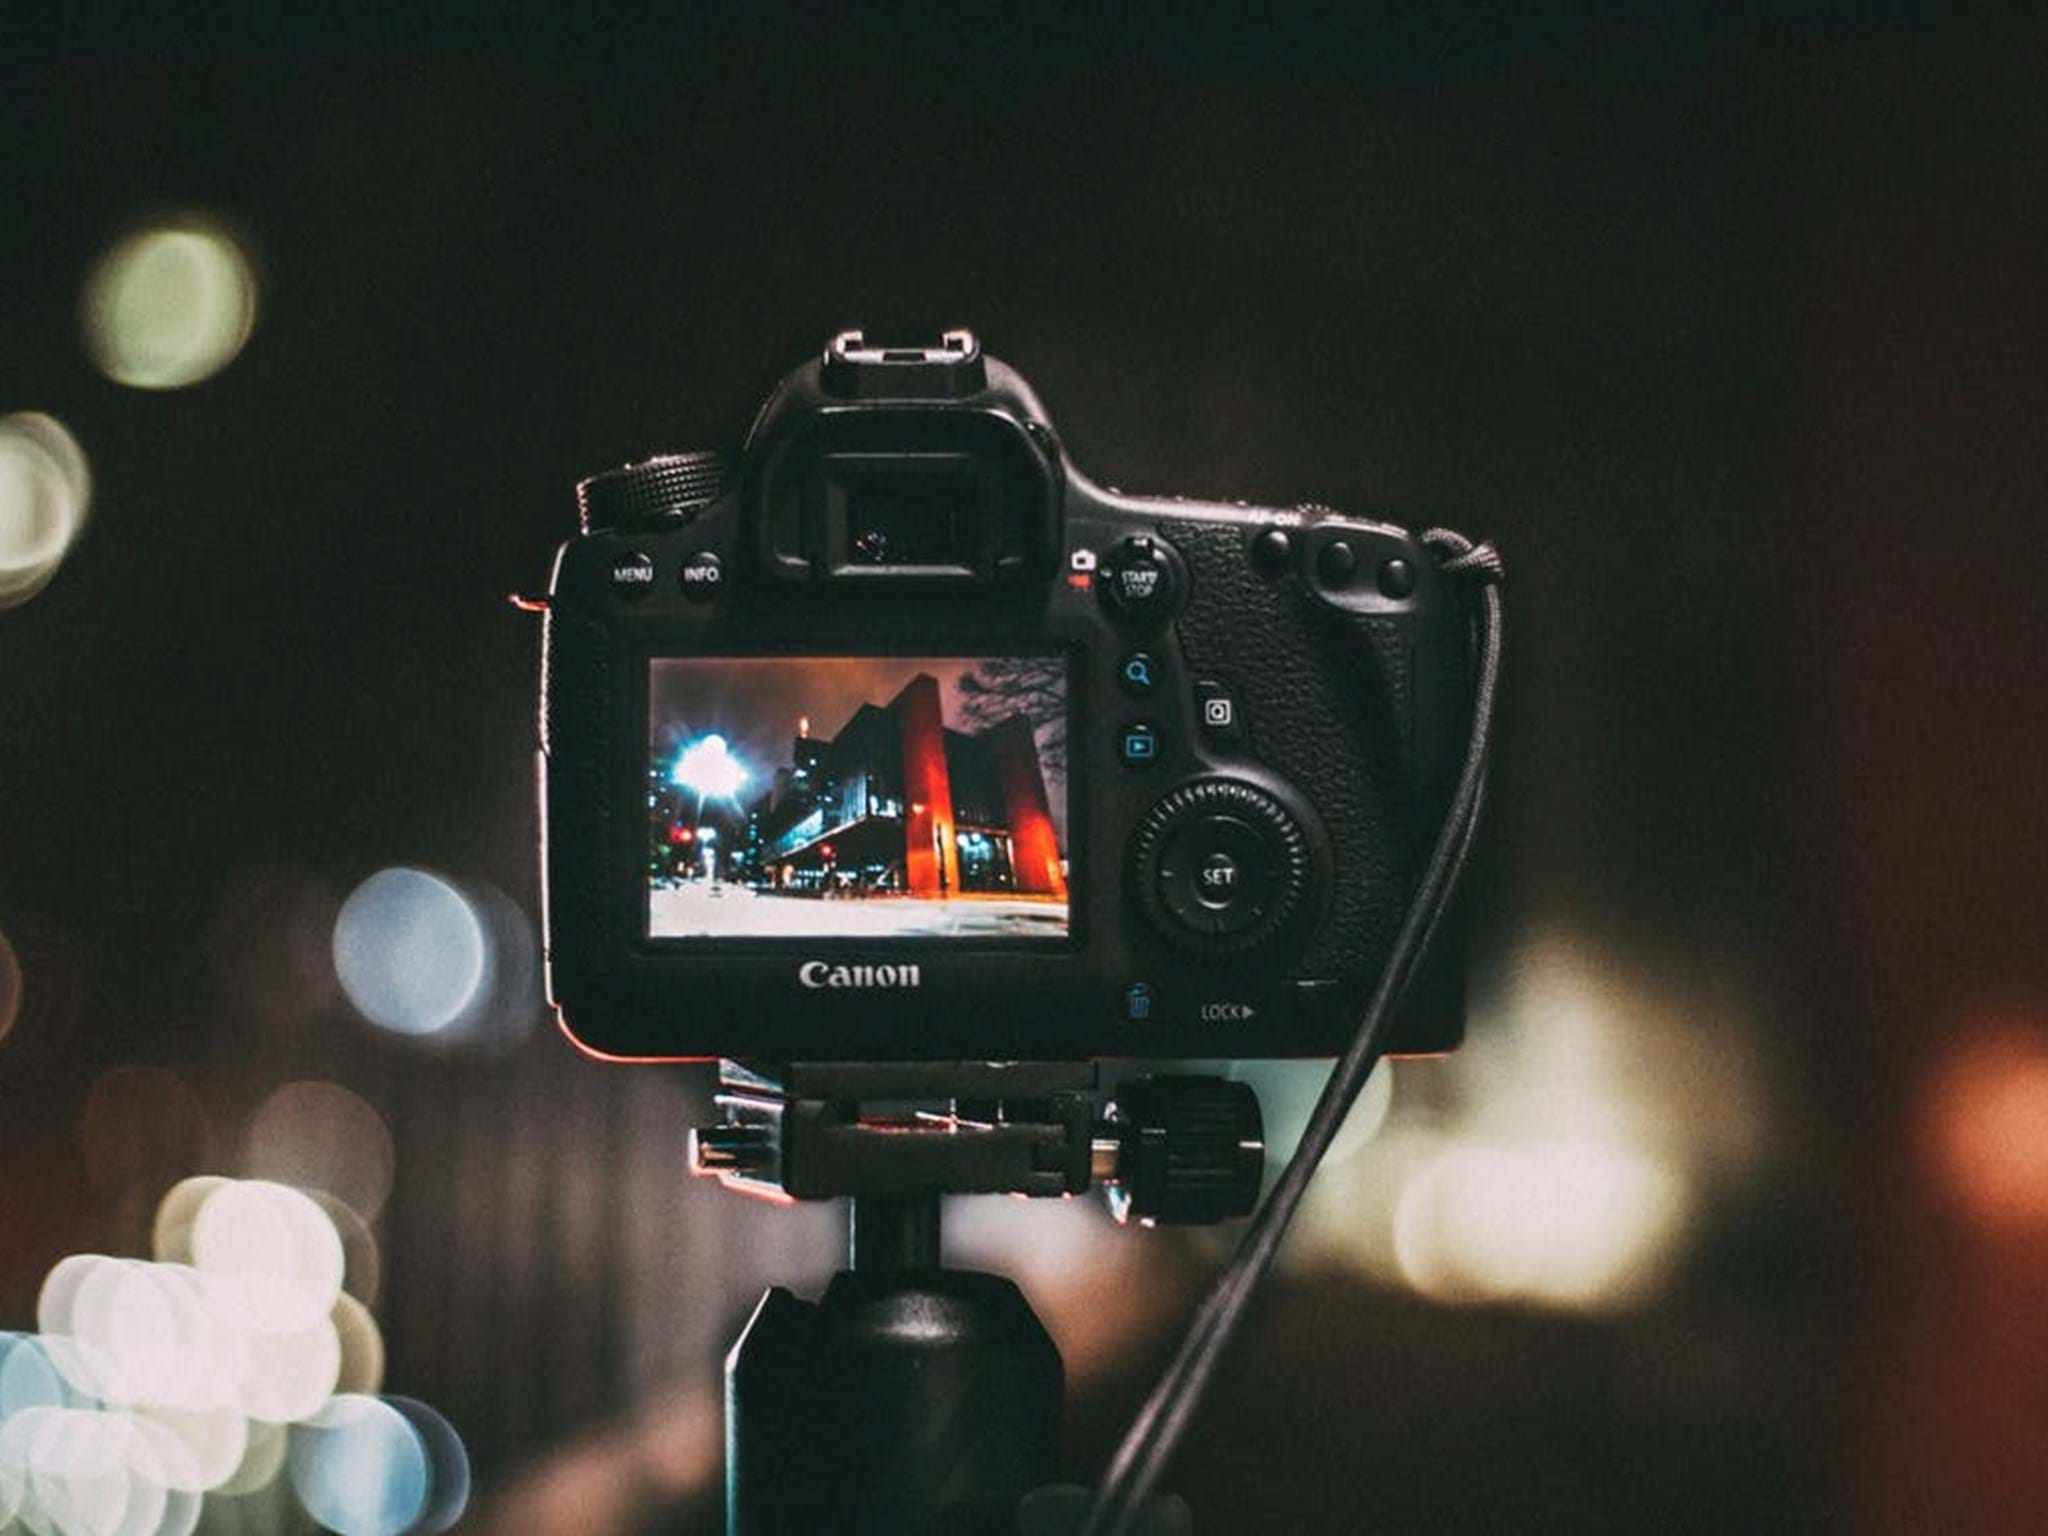
You just shot a nice evening image with a setting sun, blue skies and luscious green trees. Your camera display thumbnail is all FIREWORKS and you are thrilled - National Geographics Cover shot, AT LEAST!
That is, until you open it in your photo processing application. There it just looks average, a little grey and bland - More like a Cover shot for Accountants Weekly. Nowhere near what your camera display promised :-(

Well, today's tip will explain why this may be happening to you, and it will teach you how to make your cameras display work for you rather than against you.

First a quick RAW 101:

  1. A RAW file is actually not an image at all. It is a file containing the raw measured exposure to light of each of your sensor pixels.
  2. In front of each pixel on your camera is a colour filter allowing only Red, Green or Blue light to reach an individual pixel. This filter is called a Beyer Filter.
  3. For a RAW file to become an image, it needs to go through a process called de-mosaicking (developed). This is a software algorithm that converts the millions of red, green and blue pixels into an image with millions of subtle colours and details.


Wait... If I shoot RAW, and you’re saying a RAW file is not really an image, how can I see my shot on the display right after it was taken?

Well, this is exactly the reason your thumbnails cannot be trusted. See, there is no one de-mosaicking algorithm to rule them all. In fact, every photo processing application has its own algorithm, and so does your camera - hint: These algorithms produce very different output based upon the settings you provide them with ;-)

"A RAW file is actually not an image at all. It is a file containing the raw measured exposure to light of each of your sensor pixels"

So, the reason your cameras display thumbnail is very different from your photo software image is that:

  1. The camera thumbnail image was produced with the cameras de-mosaicking algorithm and any custom settings you may have provided for JPG shooting on your camera. What your camera does every time you take a photo, is to develop the .jpg image it would have created if you shot JPG instead of RAW. It is then scaled down to a small .jpg and shown on the display as well as stored inside the RAW file as a preview of the image. Every camera maker tends to create and optimize their default de-mosaicking algorithm/settings towards pleasing you and make their camera look GOOOOD.
    This is - by the way - also the reason you cannot gauge the exact exposure levels or how sharp your image is on a pixel level when looking at your cameras display. You are looking at a small, scaled down and compressed JPG rendered by your camera. It has far less colours and details than the RAW file it just saved to the memory card. So NEVER make any final calls on an image that shows potential based on your camera thumbnail.

  2. The initial photo software image was produced with the vendors de-mosaicking algorithm, and any custom settings you may have provided it with. Every company that makes photo processing software tends to create and optimize their default de-mosaicking algorithm/settings towards retaining as many details and allowing for as much adjustment latitude as possible.


By default, that means:

  • Your Cameras algorithm will produce more saturated colours and a good deal of contrast.
  • Your Photo processing software will produce less saturated colours and lacklustre contrast.


So, you see, your problems come from the use of different algorithms and settings. No wonder the images can be miles apart.

"NEVER make any final calls on an image that shows potential based on your camera thumbnail"


What can I do to make this work for me?

Easy, really. Both your camera and your photo processing software provides you with a lot of settings to "adjust" how its de-mosaicking algorithm works. So, you could choose to either tune your cameras settings towards your photo applications default look, or tune your photo applications settings towards your preferred camera JPG look.

  1. How to make your camera mimic the default settings of your photo application algorithm:
    This usually means disabling all image/picture styles and enhancements in the jpg settings. Fx: Set the cameras image/picture style for "standard" or "neutral" rather than "vivid" or "portrait" and so on. Make sure to disable all HDR, Active D-lighting or such image shadow processing on your camera, and set all manual adjustments of brightness, contrast and sharpness to their neutral setting. Depending on your Photo Processing software you could make minor adjustments to the cameras manual jpg settings to get as close as possible to the default output of your photo app. This will require a little trial and error testing and comparing. It is critically important to understand, that all of these settings have absolutely NO impact on the image your photo application will open up initially. That image is still created from the RAW file, and will remain the same regardless of the settings setup on your camera. The camera settings are only active for rendering the preview on your cameras display (or for the .jpg images if you shoot JPG).
    NB: Most cameras have a “High ISO Noise reduction” feature. Make sure to disable that, as this will perform software noise reduction and remove most of the actual ISO noise present in the RAW from the preview jpg. You could argue it allows you to see the potential of the image when noise reduction is done, but remember, you’re looking at a thumbnail, the size reduction already makes ISO noise less visible than in the full-size image. If enabled, you will lose critical insight into how much ISO noise the RAW file contains.

  2. How to make your photo application mimic your preferred camera JPG settings:
    This is generally very different from application to application, but it usually involves applying a rendering preset setting to all imported RAW images. fx: If your camera is set to “Vivid” in picture styles, you could create a preset in your photo application, that applies a custom amount of saturation, brightness, sharpness and so forth in order to resemble the camera thumbnail JPG. Some applications such as Lightroom even comes with selectable presets built-in, that mimics each camera producers jpg settings.

"It is critically important to understand, that all of these settings have absolutely NO impact on the image your photo application will open up initially"

Either solution is valid to resolve your problem, but they each have their pros and cons.
The first one will provide you with a little more adjustment latitude on your images. It will also alleviate some of the “thumbs are always better” problems a lot of images suffers. But it will likely also require you to spend much more time developing each and every image in your photo processing application, whereas the latter might create a lot of images you are happy with out of the box. It is up to you to choose which solution you like the best.

The point is: You can now choose if you want your camera thumbnail and your photo processed images to look alike by default.

That's all from my box of tips today. I hope this makes your life easier - if not, then at least you understand why ;-)

Merry Christmas.