
Being a member of Hedensted Fotoklub has always provided me with a lot of learning and a great social network. Especially a Photo Rally is an excellent photographic challenge where creativity, time pressure, gear experience and competition meets. A Photo Rally is an internal club competition where 2 persons have created a challenge for the entire club to compete against each other.
The creators are also the judges, and the challenge is to complete a series of images based on subjects and any number of restrictions set by the creators. These restrictions is completely individual for every challenge, and can be anything you can think up for a series of images (fx: Must use flash, only 50mm, only one shoot per subject and/or out of camera jpeg without editing).
Follow me on this challenge held on September 28th to get a grasp of what it's all about:
Note: If you want to see the images in higher resolution and detail, you can see them in my gallery entitled Photo Rally 3 - 2017
The organizers asked us to meet up at Vejle Harbour at 19:00 hours to have our subjects and restrictions handed out. The competition starts at 19:10, and if you're late you're out.
The challenge was to create 6 images based on 6 different subjects and return to base no later than 20:45. This time there was very few restrictions as:
- You could take as many photo's as you wanted
- You could take them in no particular order
- We were free to go or drive where ever we wanted.
- We had 2 weeks afterwards to edit them is which ever way we wanted
The subjects were:
- A detail
- No subject restriction (Use of flash required)
- Mirror/Reflective image
- Something with Color
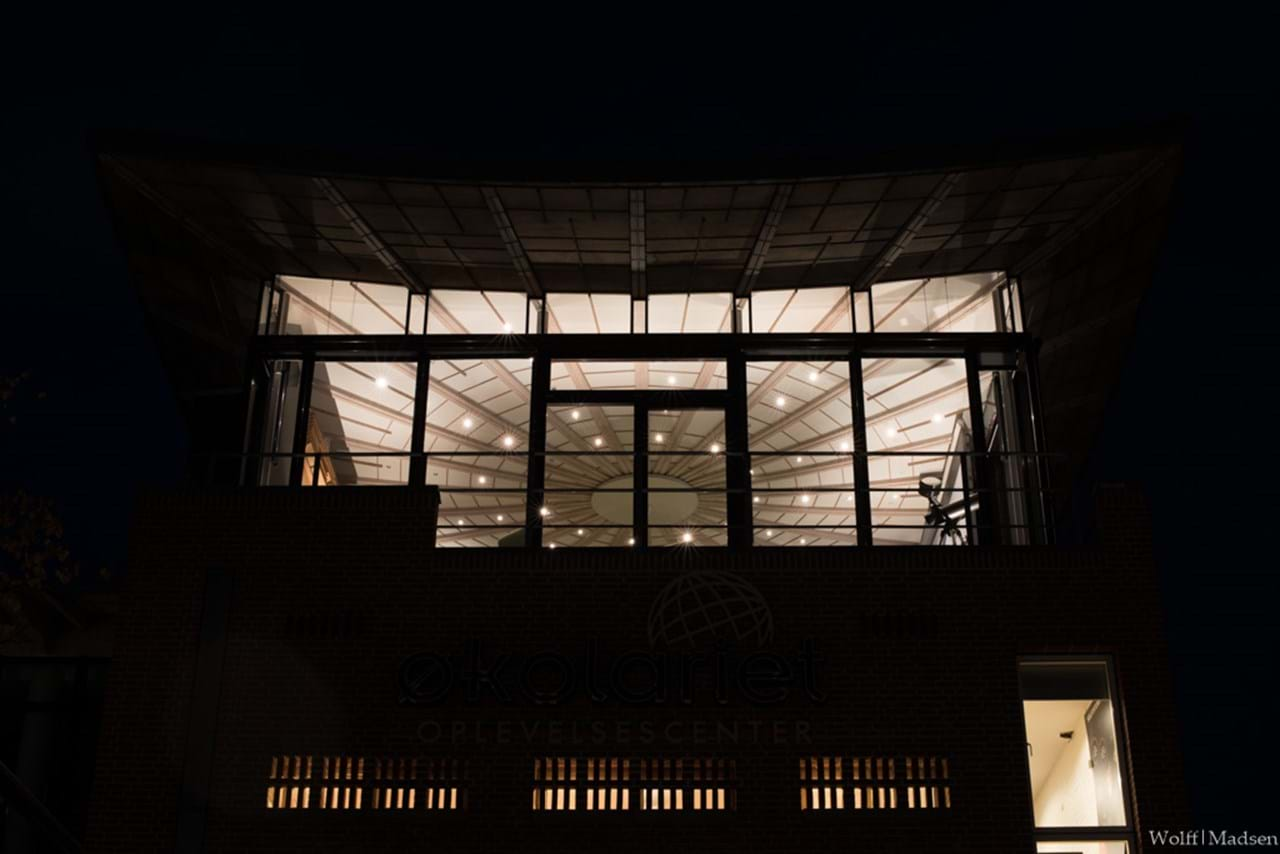
- A building
- Light (From a building/streetlight or such - but no Flash)
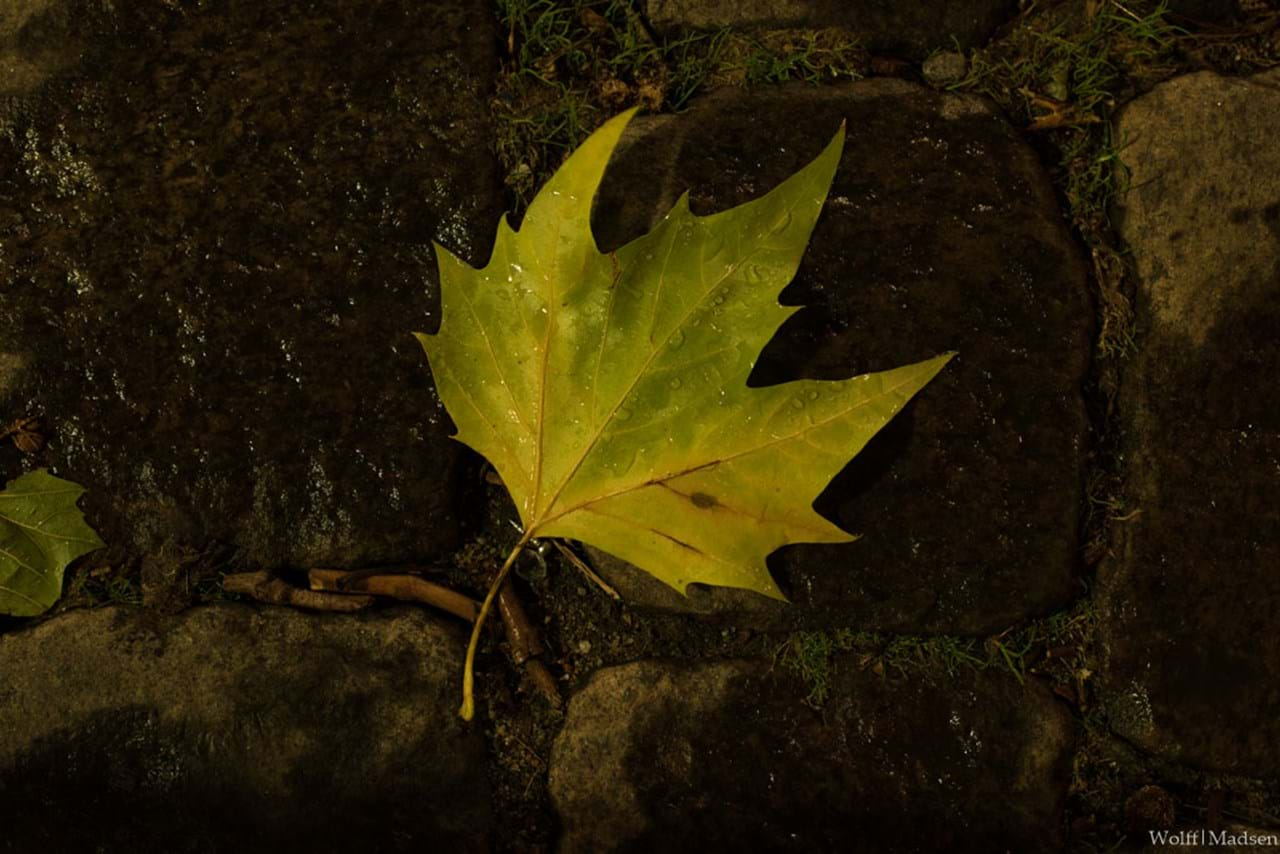
 The Original: Something with Color
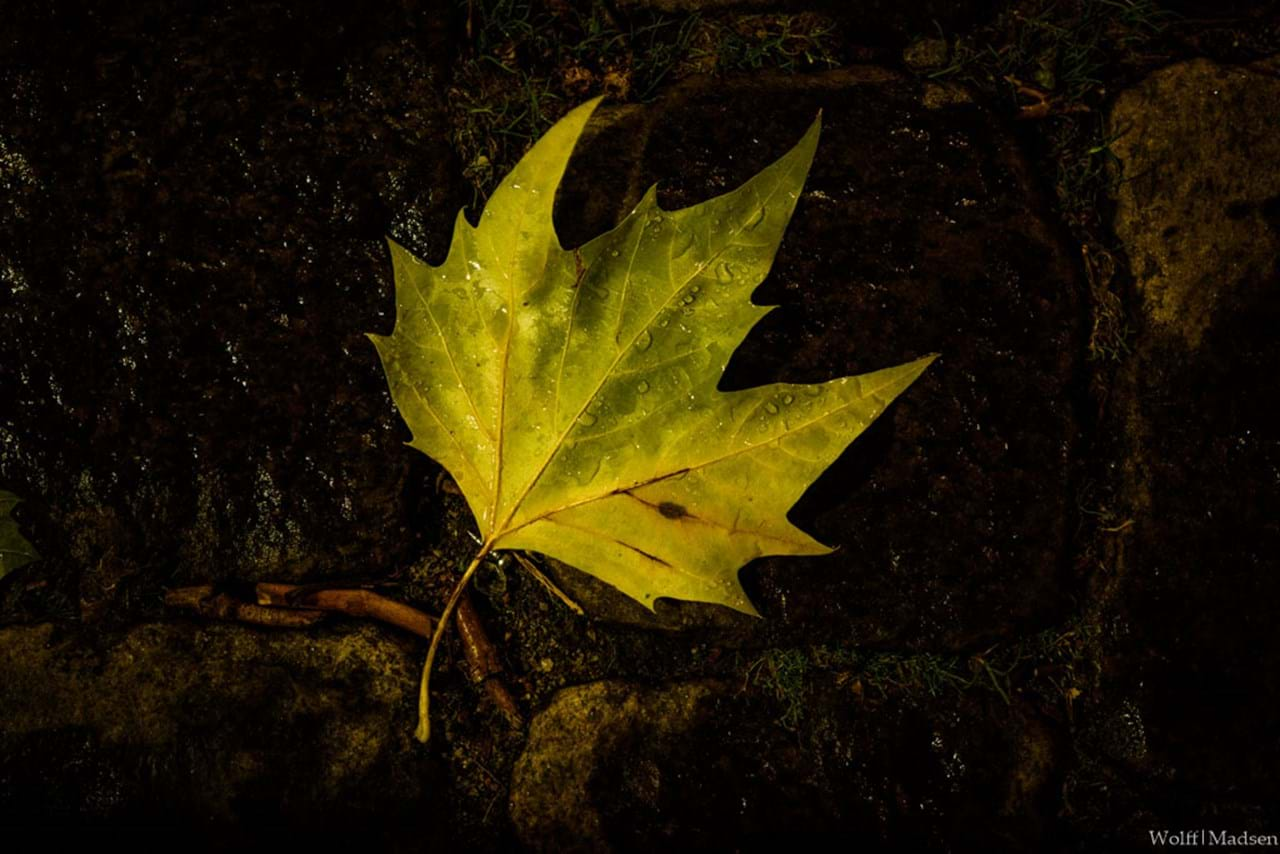
 The Final image: Something with Color
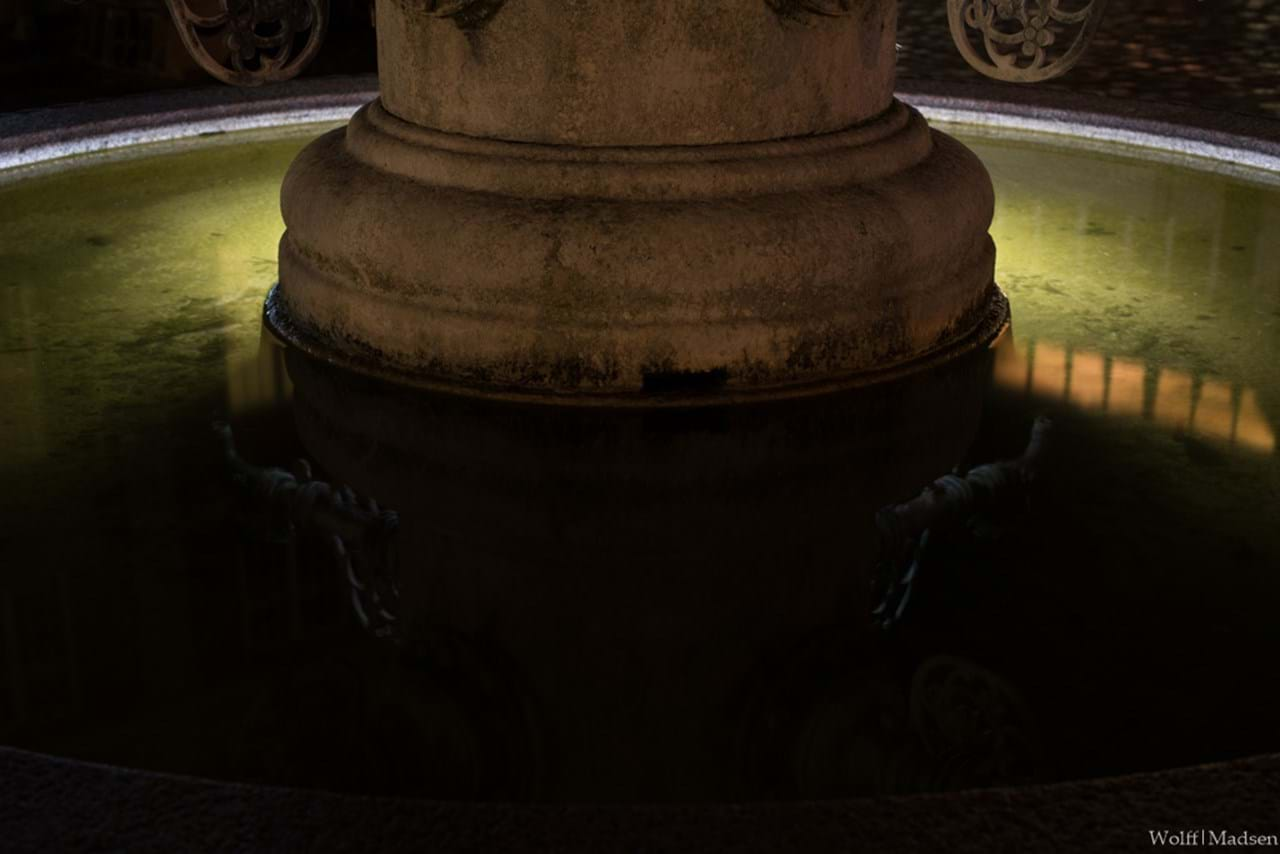
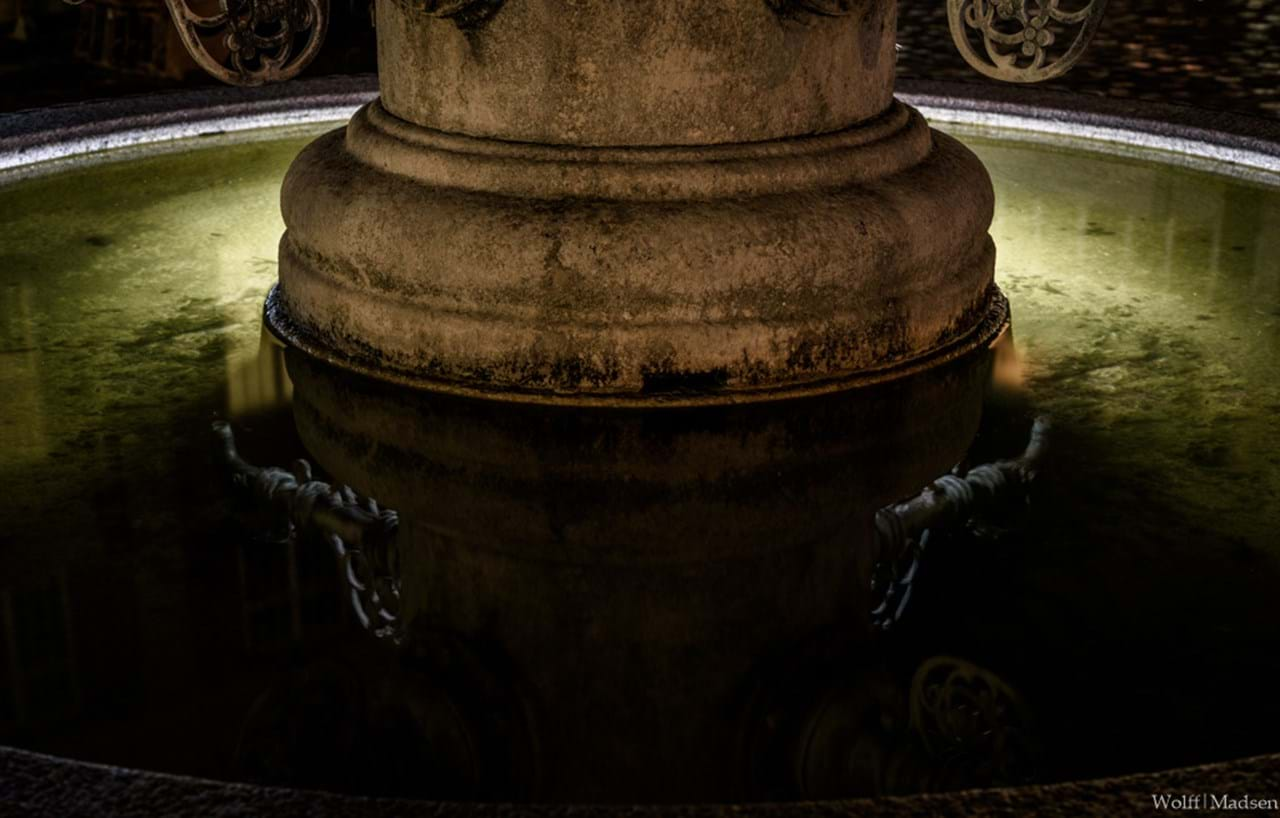
 The Original: Mirror/Reflective Image
 The Final image: Mirror/Reflective Image
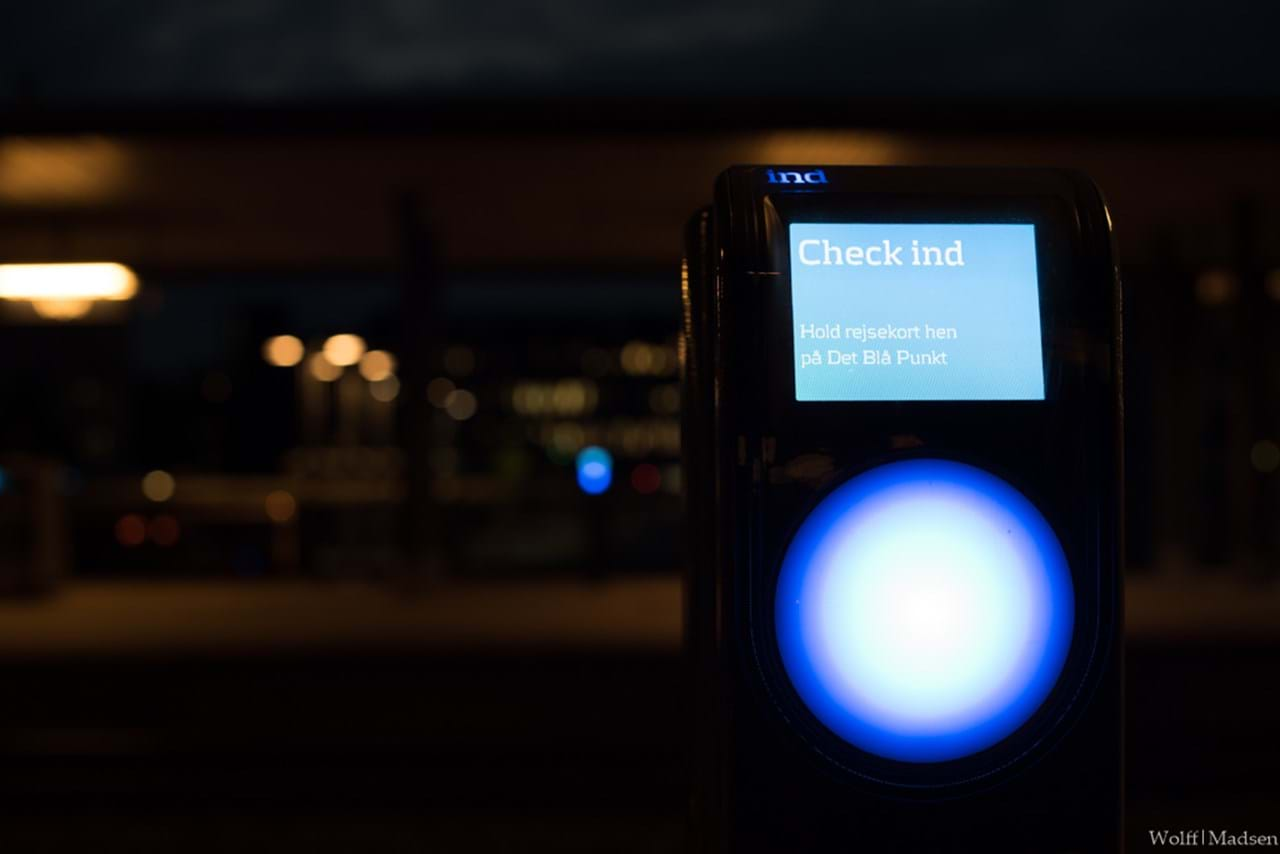
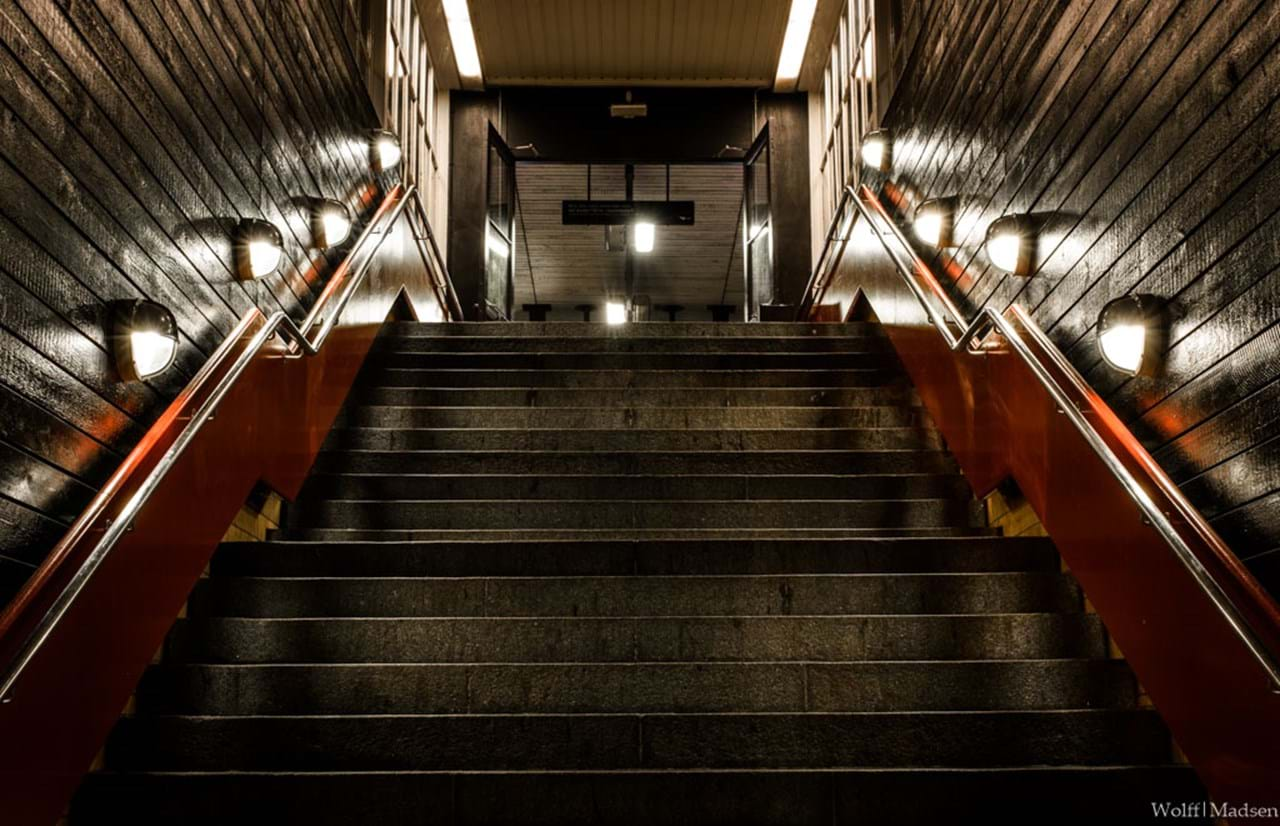
 The Original: Light
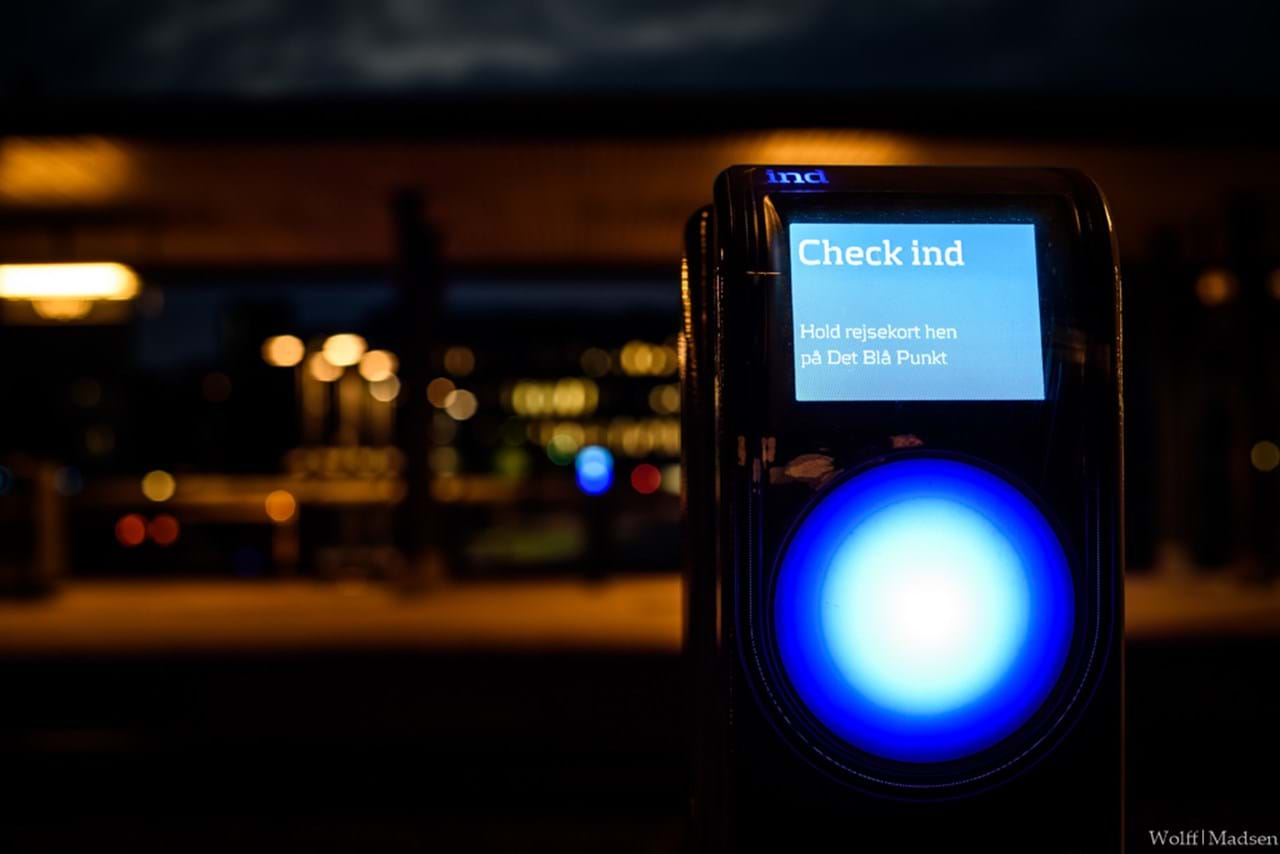
 The Final image: Light
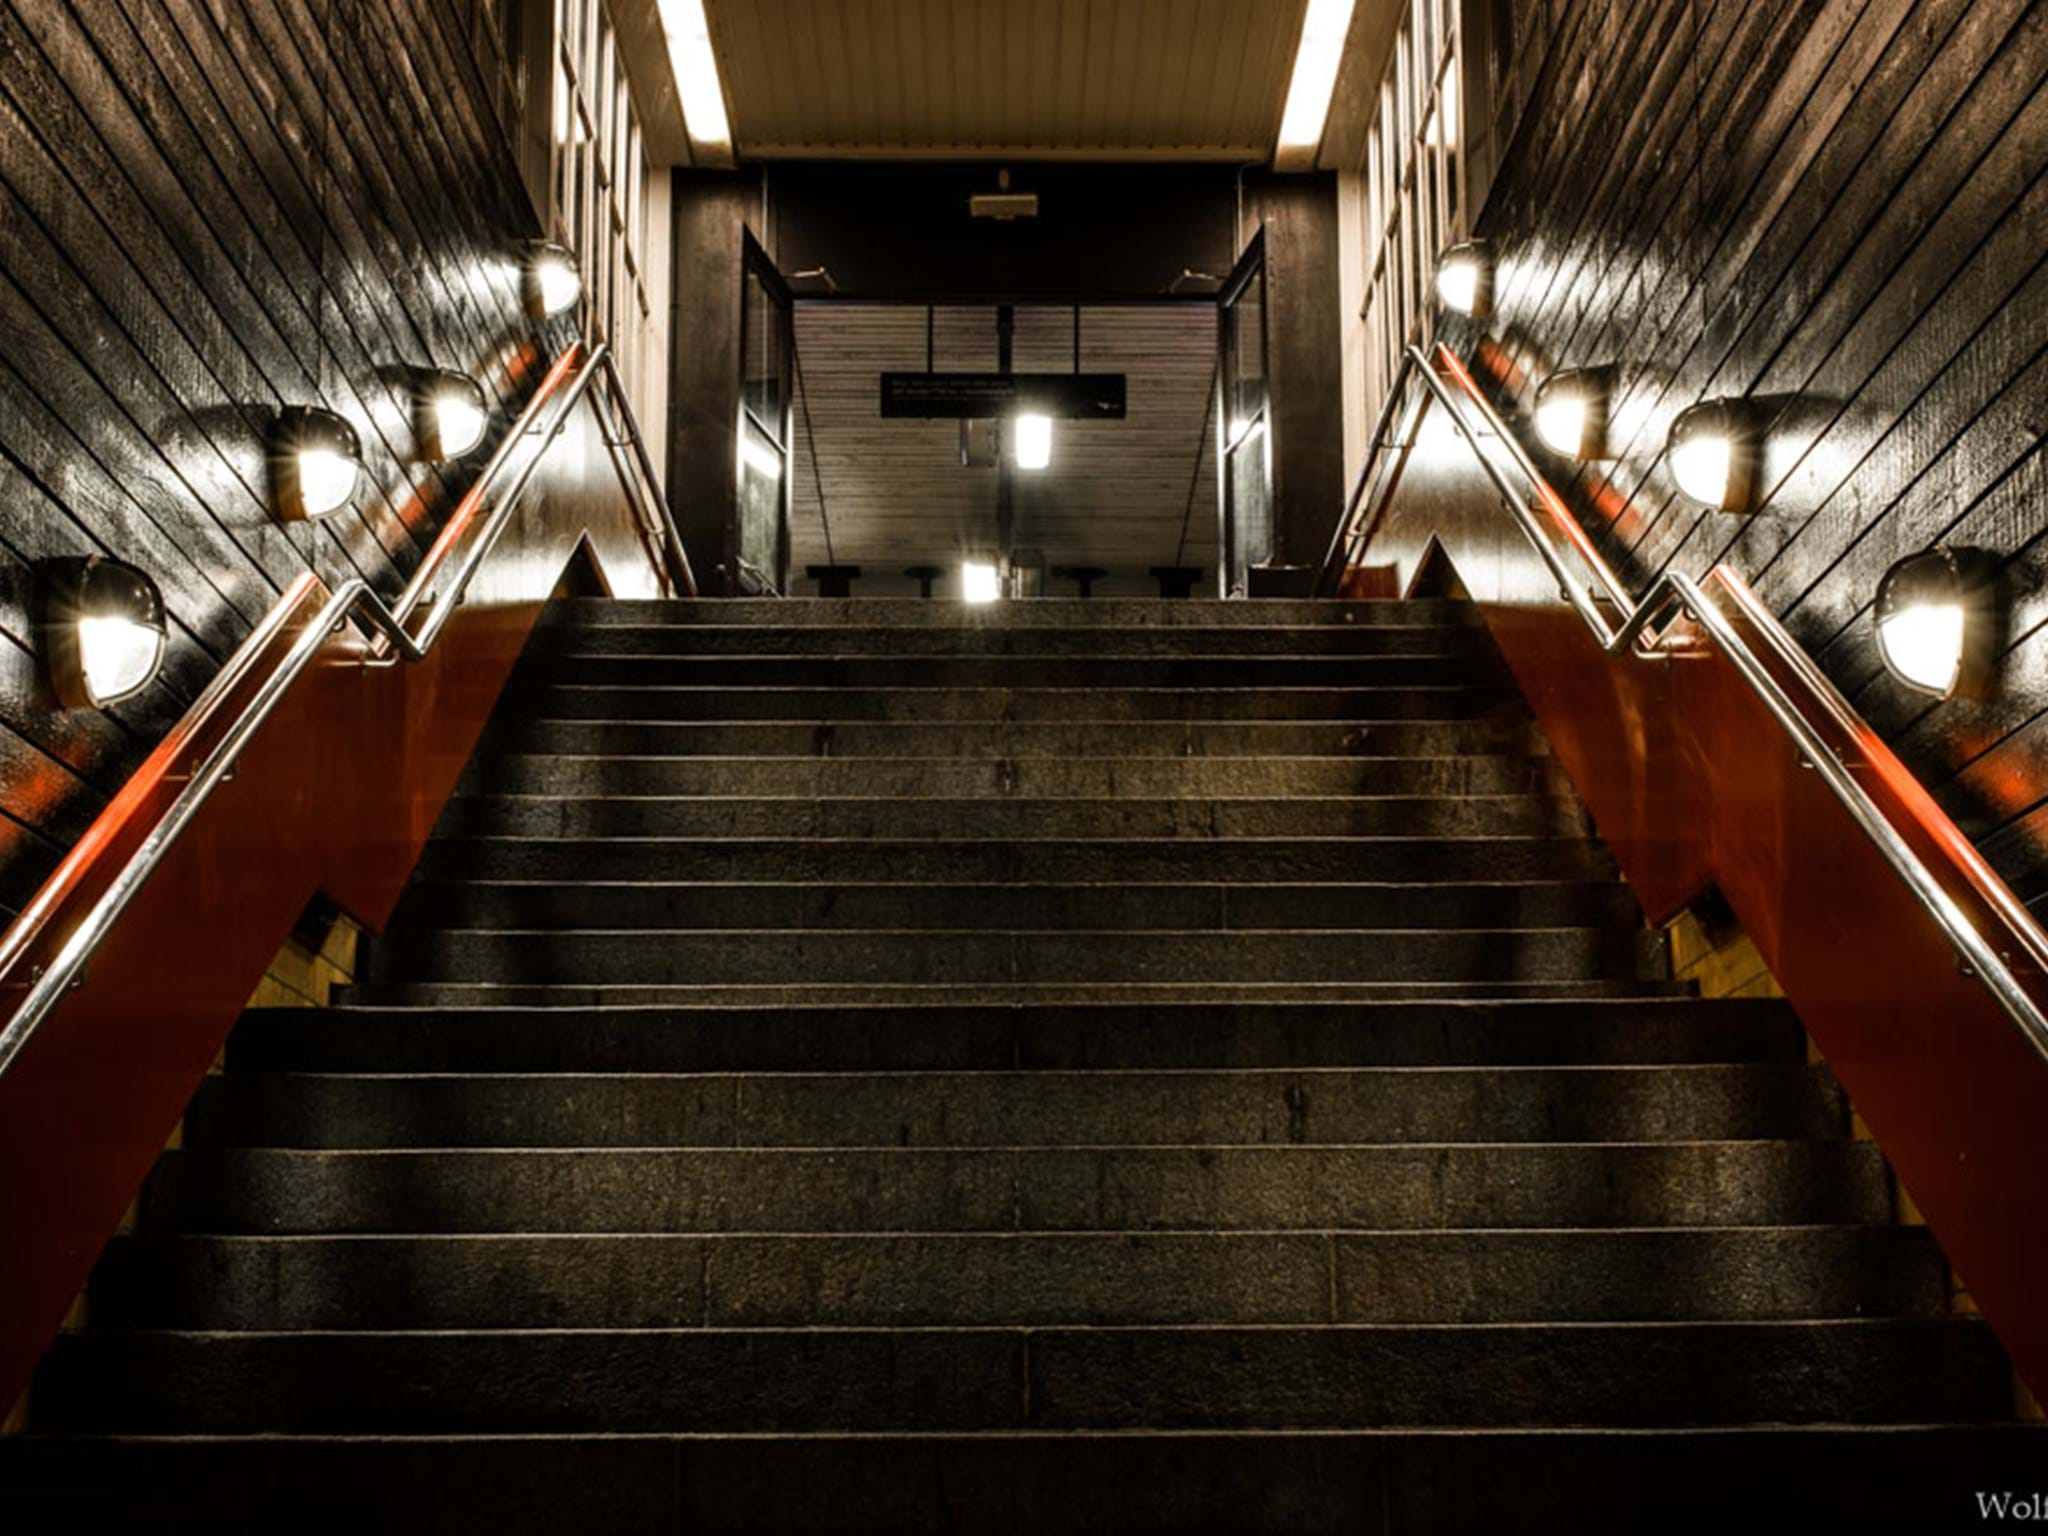
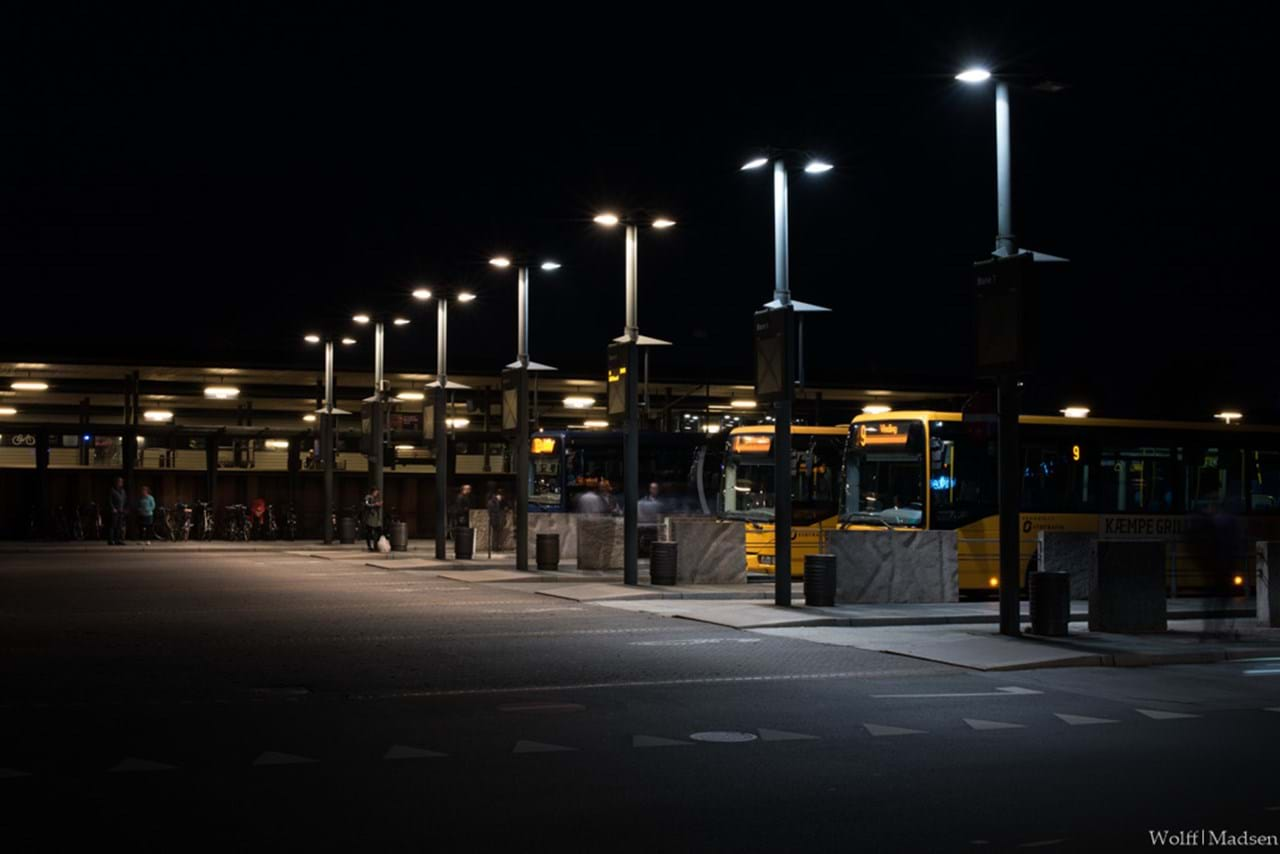
 The Original: A building
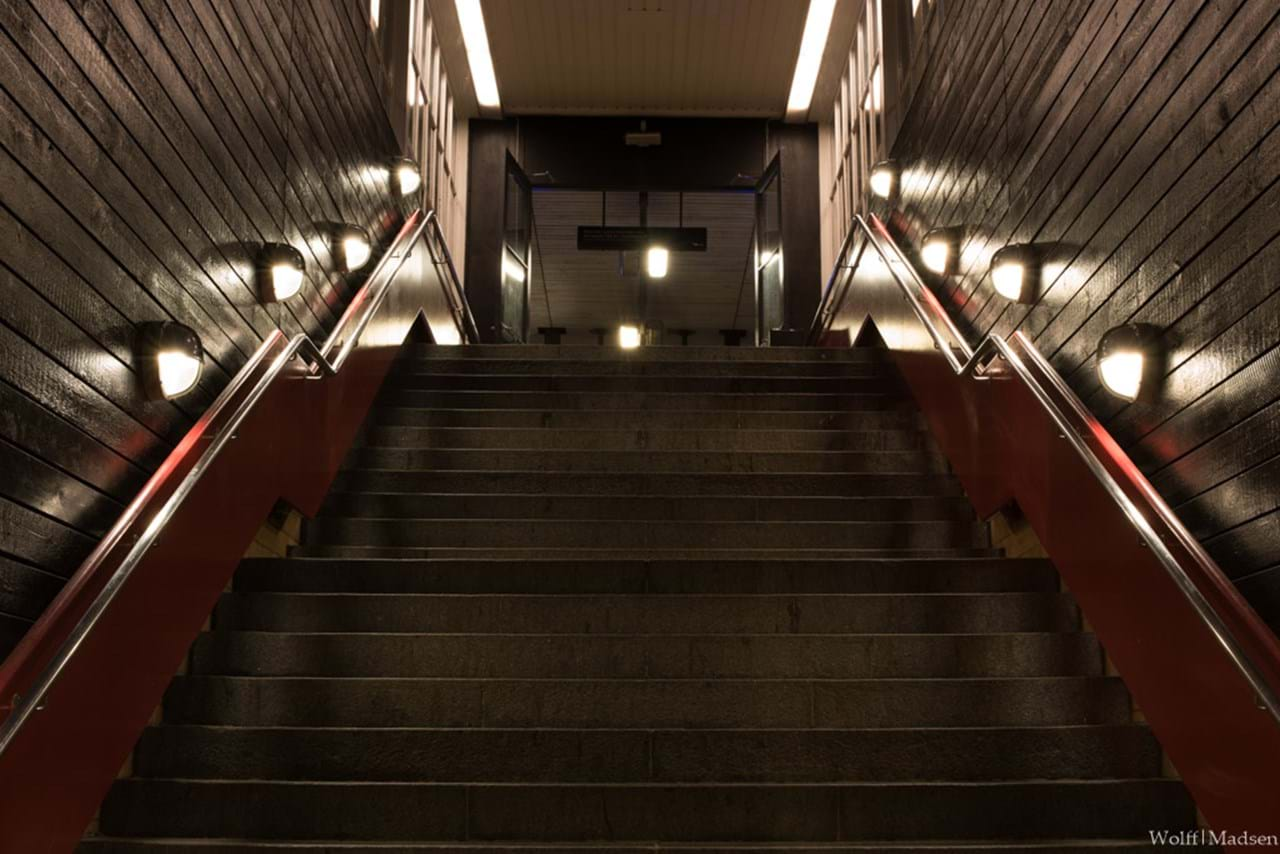
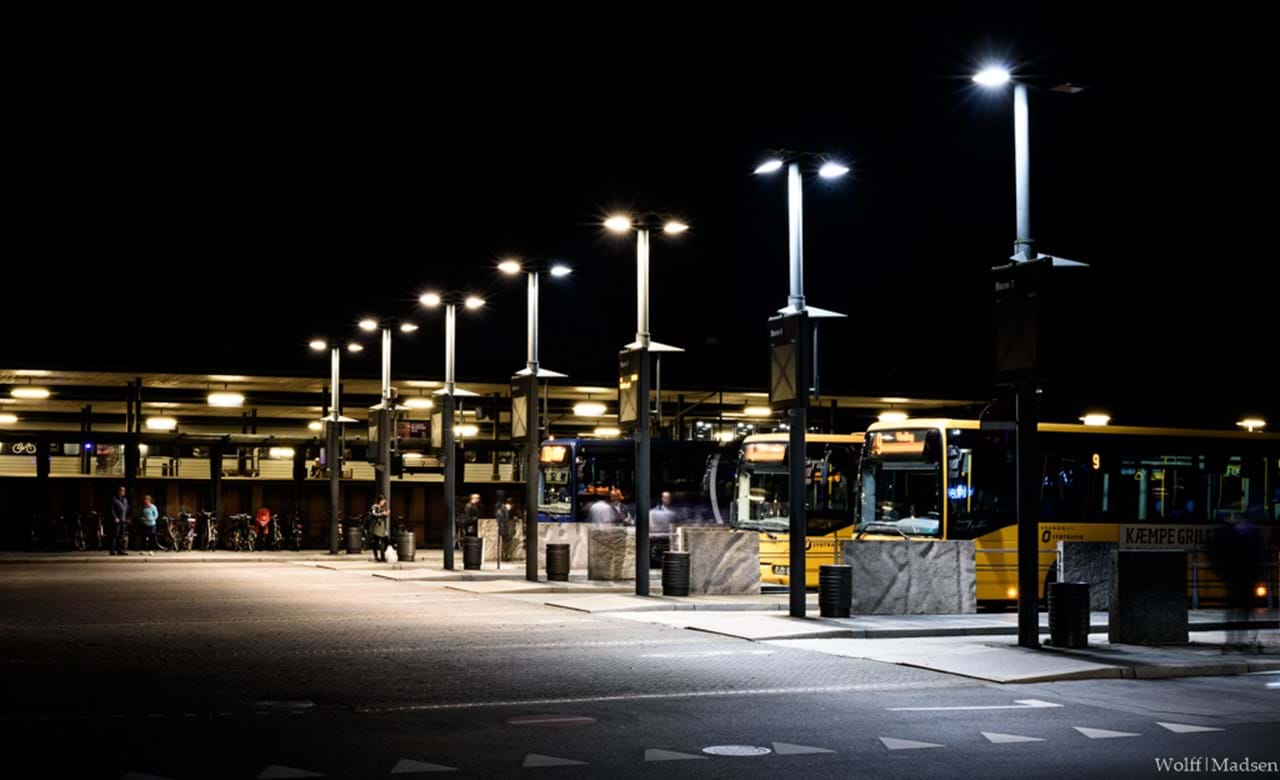
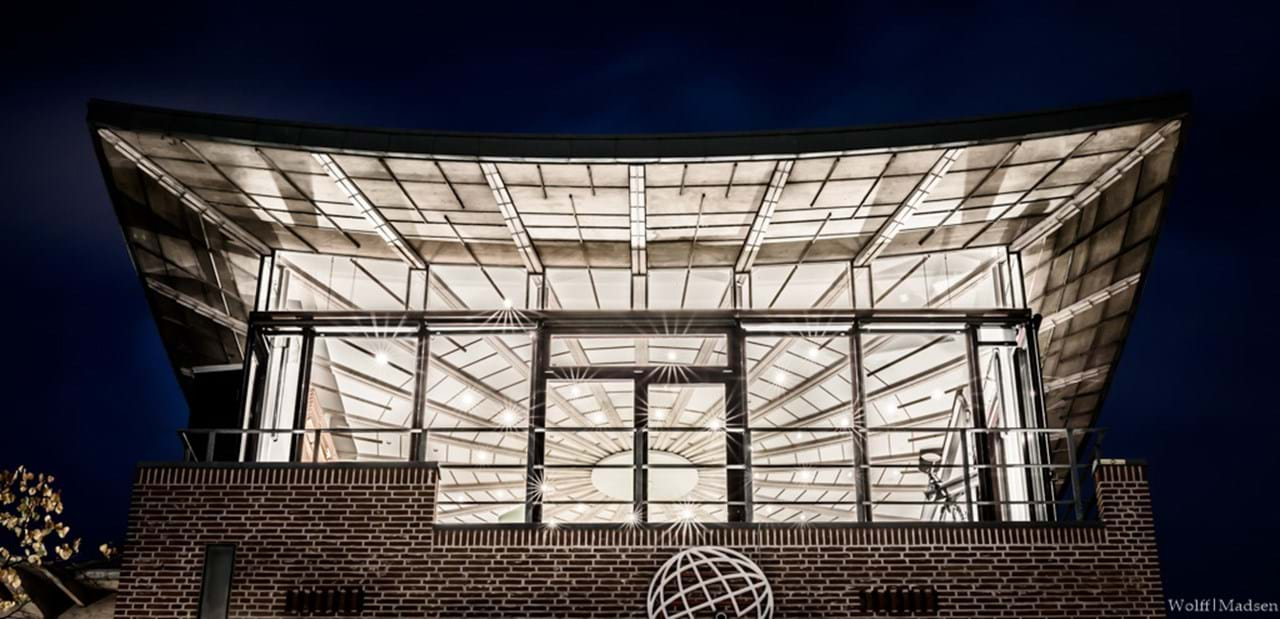 The Final Image: A building
 The Original: A detail
 The Final Image: A detail
 The Original: No subject restriction (Use of flash required)
 The Final Image: No subject restriction (Use of flash required)